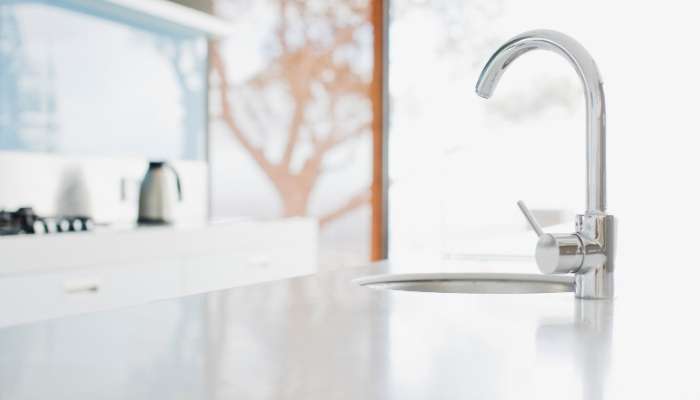
Changing a problematic kitchen faucet is a must to avoid wasting water or to restore the noiseless situation in the kitchen, but calling in a plumber for changing a mere tap doesn’t seem worth it. You can try to change the kitchen faucet yourself, it’s pretty easy to do with the help of a few tools.
Now the question is what tools do I need to change a kitchen faucet? If you’re here for the answer, continue reading—
Table of Contents
What Tools Do I Need To Change A Kitchen Faucet
A kitchen faucet is one of the most vital elements in a kitchen, we need to use it every time we’re cooking or drinking water. But it creates a huge mess if not working properly. A dripping faucet sound literally snatches the sleep away from our eyes, the soft plinking noise in the daytime transforms into a loud forte in the silent night.
Replacing the kitchen faucet can solve this problem instantly if you have the right tools. The procedure is pretty straightforward, remove the old one & install a new faucet. Before getting into the step by step procedure let’s see what tools you’ll need—
- Adjustable Wrench
- Channel-locking Pilers
- Flexible Supply Lines
- Tape Measure
- Basin Wrench
- Plumbers’ Putty
- And obviously, a new faucet
Procedure
The actual procedure might be a little different depending on how the faucet is set to your kitchen sink. Some faucets are mounted to the kitchen wall while the others are mounted to the sink or kitchen counter. Don’t worry, we’re going to describe the process accordingly.
Step 1
Turn off the water supply using the wrench. In the case of a sink mounted faucet, turn off the valve under the sink. And if you have a wall-mounted faucet, it’s wise to turn off the main water supply of your kitchen.
Step 2
Take a chisel and try to pull out the fasteners around the faucet base. Then use the basin wrench to loosen up the nuts around it. For a wall-mounted faucet, remove the trim plate that is covering the wall-faucet junction.
Step 3
Now that the faucet is totally exposed, open the nuts and pull out the faucet. For a wall-mounted faucet, it’s easy to just screw out the whole faucet using the wrench.
Step 4
Measure the length of the supply tube with the measuring tape and buy a new one. This is for getting a long term service from your newly installed faucet. In the case of a wall mounted faucet, there is no supply tube. So you don’t need to change that.
Step 5
Now get on to the new faucet. Install the new one using the nuts & screws that you loosened to remove the old faucet. The channel locking pliers will come in handy for this step. Again, for the wall mounted faucet, just install the unit with the same wrench. Make sure to keep the trim plate in between the wall & faucet.
Step 6
Now the final step, take some plumbers’ putty and use it to seal the base of the sink mounted faucet. Dry it up and again turn on the water supply or the valve under the sink.
So there you go, what tools do I need to change a kitchen faucet & how I changed my faucet using these tools. The process was super easy and simple, you can use this tutorial for your bathroom faucets too! So what are you waiting for? Apply this plumbing procedure the next time and be your own boss. Happy learning!

