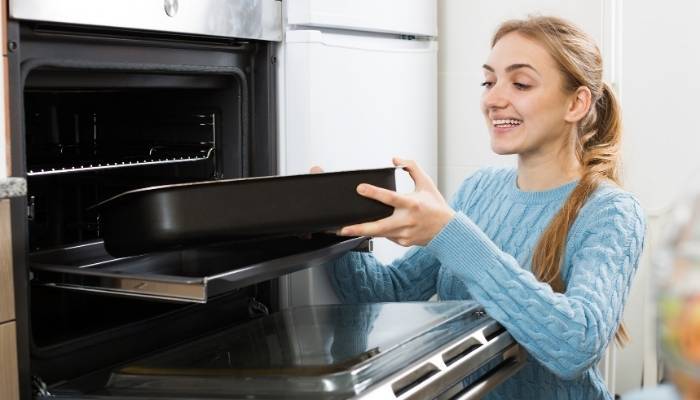
Your oven may get seriously messy and dirty after using it only a few times, and cleaning it will annoy the hell out of you. But a non stick oven liner can be the best solution to avoid all that mess.
If you have never heard of non stick oven liners, you probably don’t know how to use them. In that case, we’ve got it covered for you because we’ll show you how do you use non stick oven liners. So let’s dig in—
Table of Contents
How Do You Use Non Stick Oven Liners
Oven liners have recently got popular for promising a mess-free & cleaner kitchen. The main intention of an oven liner is to catch the drips & crumbs of the food that continues to bake further. These foods eventually get burnt, besmearing with dirty spots. With an oven liner, there is no chance of such nuisances.
There are many types of oven liners & nonstick oven liners are the best of them. Because of its Teflon coated surface, nonstick oven liners are reusable & easy to clean. So using them will give the best outcome.
In case you don’t know how to use these oven liners, this step by step guide will help you—
Step 1
The first step is choosing the right oven liner. There are many types of materials & qualities of oven liners. Among them, try to choose the most heat-stable & heavy product.
Thin liners tend to get flipped when you turn on the fan. Plus, liners with low heat stability are likely to melt because of staying so close to the heating element. So make sure to choose carefully.
Step 2
The second step is to cut the oven liner into the correct size. Now, you have to keep in mind that the heat from the bottom is also important for an even baking result. So you shouldn’t block the airflow in the oven.
Cut the oven liner leaving an inch of space on each side. If the oven liner already comes in the perfect size for your oven, you may skip this step.
Step 3
Place the oven liner on the lowest rack of the oven. Some oven liners come with a shelf, just place it at the lowest rack of the oven. If it doesn’t, put the shelf in the oven & place the liner afterwards. Make sure that the liner stays flat. Weigh it down with any oven-safe stuff so that the liner doesn’t flap when you turn on the fan. Then start the baking process.
Step 4
After you’re done with baking, it’s time to bring the liner out of the oven. For that, first check if any drip or crumble is on there because you will have to be extremely careful in case it’s present. Take out the whole shelf along with the liner, but make sure the crumble or drips don’t spill in the oven.
Step 5
Now the final step, scrape off the crumble or drips from the liner and wash it with your hands or throw it in your dishwasher. If you’re using a one-time use liner, throw it away. So the process is finally over with a clean oven behind!
Are Oven Liners Safe To Use
There are many of us who are completely unaware of what an oven liner is made of. So the question about oven liners being safe to use is asked by pretty much everyone. Well, technically, an oven liner is totally safe to use because it doesn’t touch your food in any way.
Most of the oven liners are made of silicone which can withstand up to 500 F of heat. Most of our ovens can’t reach that temperature. So there is no chance of the product getting melted. Even though, you should really check the reviews of the product. Because a melted oven liner is even harder to clean.
How To Clean Oven Liners
Oven liners are extremely easy to clean, especially when you get a nonstick oven liner. Just use dish soap and wash it with your hands. Or you can use your dishwasher if the product is dishwasher safe. All you need to do is to scrape off the deposits and throw it in the dishwasher. Always keep the liner dry, otherwise, it will create some smoke in the oven.
Wrapping It Up
So there you go, the answer to “How do you use non stick oven liners?”. Oven liners are another incredible invention to make our cooking easier and cleaner. So make sure to try out this product and reward yourself with a mess-free kitchen. Happy cooking!

